Page Last Updated on 2025-11-06
Important Note
After adding one or more documents to MedZuse Documents, it’s important to back up your MedZuse database. To do this, export a MedZuse data file for each user profile. For best results, exported files should be saved to a portable drive or a cloud storage service.
Failing to back up your data by exporting and safely storing a MedZuse Data File may result in the permanent loss of your documents and other important information.
How to Add a Document or Image
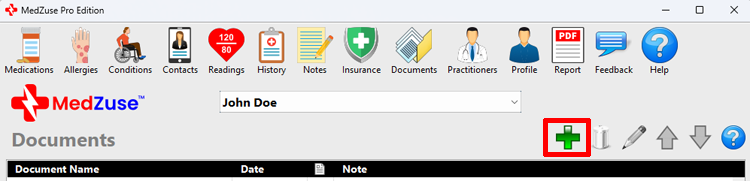
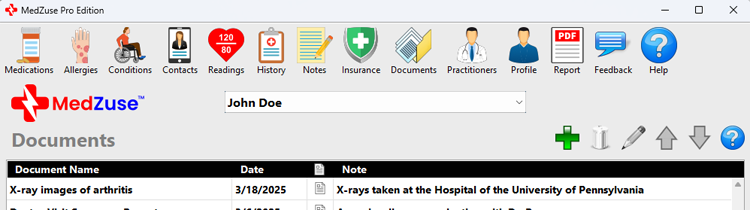
Step 1: On the Documents screen, click the Add Record button (the green plus-sign icon). The Document Record screen will appear.
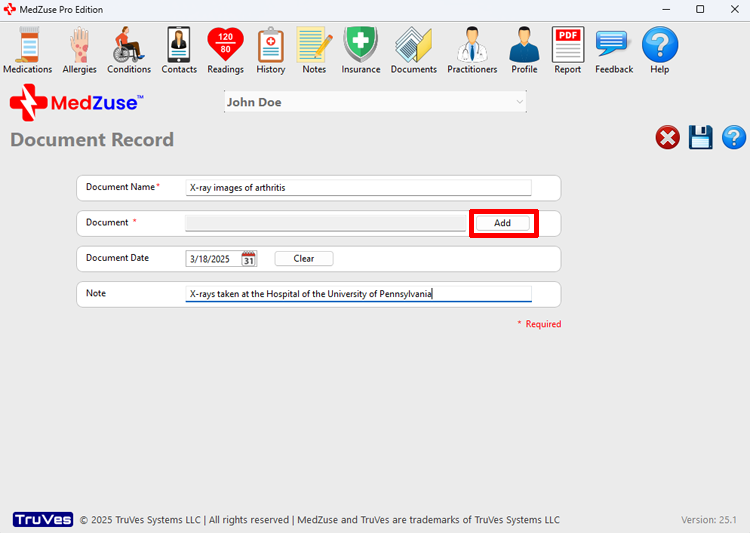
Step 2: On the Document Record screen, the following fields are available:
- Document Name (Required)
- Document (Required)
- Document Date
- Note
Enter the Document Name, Document Date (optional), and a Note (optional). Then, in the Document field, click the Add button. The Open (Document) Window will appear.
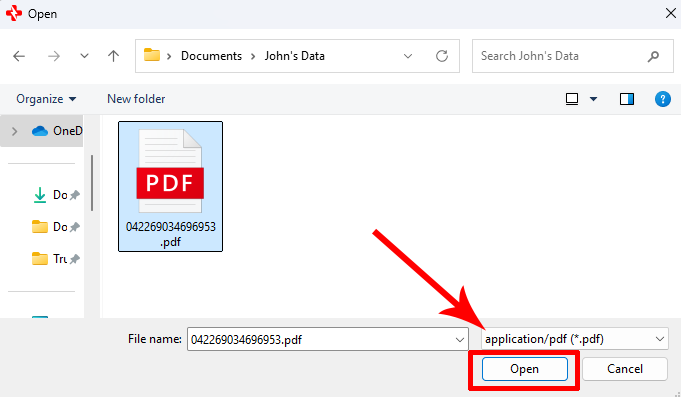
Step 3: The Document Record accepts the following types of documents;
- PDF documents (.PDF)
- Pictures and image scans (.JPG, .JPEG)
On the Open (Document) Window, in the lower right of the window, select the document type (see red arrow), then navigate to the location of the document file. Click on the file to select it. While the file is selected, click on the Open button. The document file will then be loaded into the Document field of the Document Record screen.
Step 4: After completing the desired fields, on the right-hand side of the Document Record screen, click on the Save Record button to save the record.
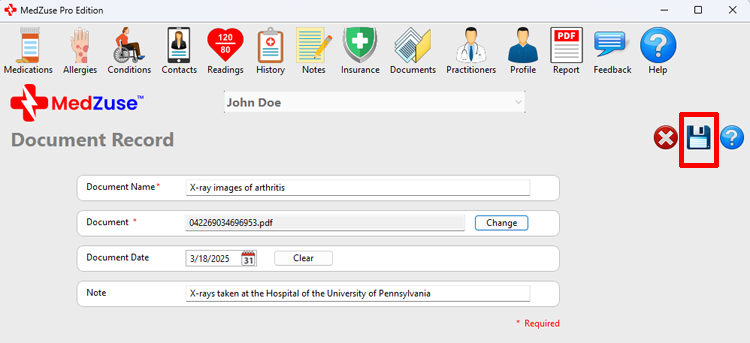
The new Document Record will now appear in the Documents list.
See also
- View a Document
- Edit a Document Record
- Delete a Record in a List
- Delete Multiple Records in a List
- Change the Sort Order of a Record in a List