Page Last Updated on 2025-08-29
The default Report Output Folder is your computer’s Desktop folder. To select a different folder or make a new folder for all newly created Blood Pressure Reports follow these simple steps.
Change the report output folder
To change the Report Output Folder you must first create a new report.
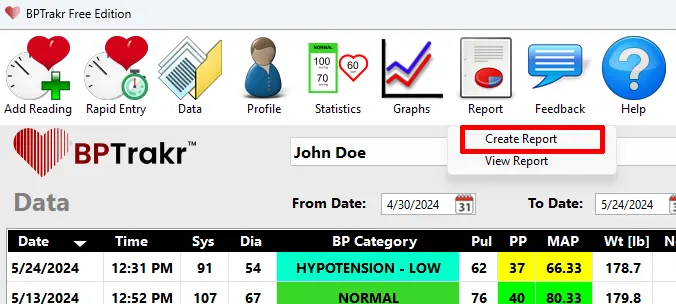
Step 1: On the toolbar, click on the Report button and select Create Report from the dropdown list. The Create Report window will appear.
Step 2: On the Create Report window, click the Configuration button. The Report Configuration window will appear.

Step 3: On the Report Configuration window, in the Report Output Folder section, click the Change button. The Select a Folder window will appear.

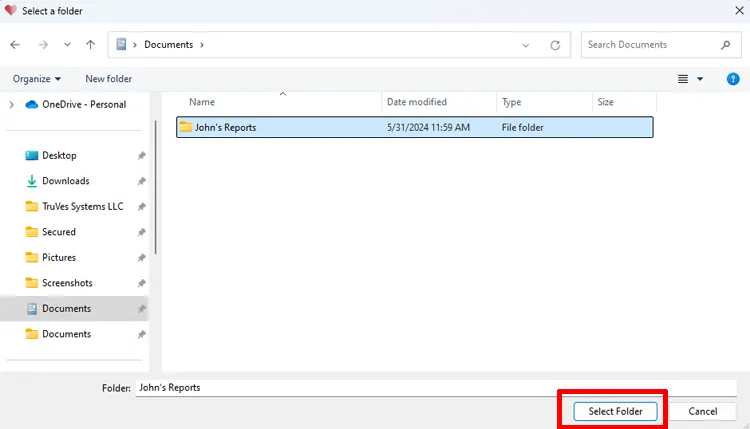
Step 4: On the Select a Folder window, navigate to the location of the preferred folder or create a new folder. Click on the folder to select it. Then click the Select Folder button.
Step 5: On the Report Configuration window, confirm the new folder location, then click the OK button.

Step 6: On the Create Report window, click on the OK button to create the report and finalize the folder change.

To view a report created in the changed folder location see: How to View a Blood Pressure Report.
See also
- Language Options for the Blood Pressure Report
- How to Hide the Blood Pressure Category Column on the Data Table in a Blood Pressure Report
Comments / Questions